5 Days a week from 8:30 am to 5:30 pm

Essential Safety Tips for Installing Adjustable Feet in Commercial Kitchens
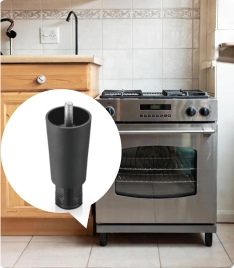
In busy restaurant setups, where heavy appliances handle constant use, proper installation keeps everything steady. Check out our range of solutions at adjustable legs category and explore more on the main site. This guide walks through key steps to avoid slips and wobbles that could disrupt service.
Understanding the Role of Adjustable Feet in Commercial Kitchens
Adjustable feet support worktables, freezers, and other gear in high-traffic areas. They allow for quick height changes to match uneven floors, which is common in older buildings or spaces with drains. Without them, equipment might tilt, leading to spills or breakdowns during peak hours.
These components come in materials suited for wet environments, like stainless steel that resists rust. In a fast-paced kitchen, where staff move quickly between stations, stable bases prevent accidents. Think of a prep table loaded with 200 pounds of ingredients—if it rocks, it risks tipping over onto a chef’s foot.
Moving from basics to hands-on advice shows how small details make a big difference in daily operations.
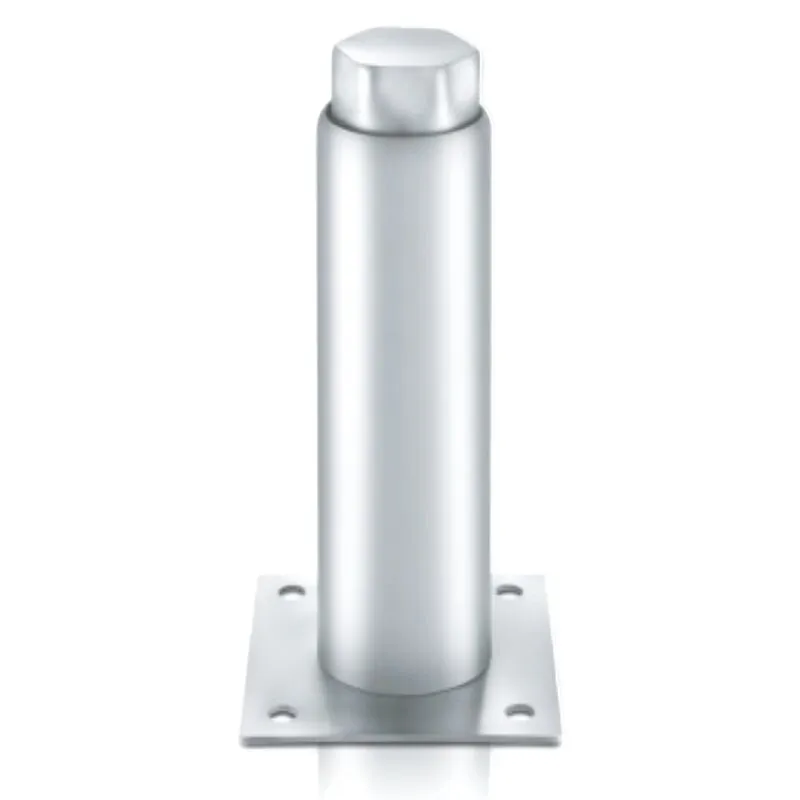
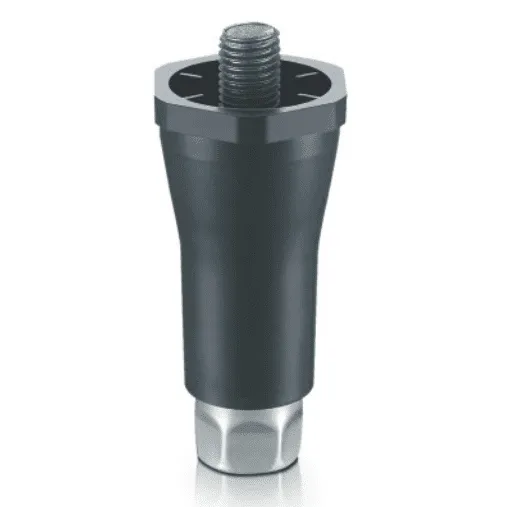
Types of Adjustable Feet Suitable for Kitchen Equipment
Heavy-duty versions handle loads up to 1000 kg, ideal for large ovens or sinks. Gravity-adjusting models shift with weight, cutting down on manual tweaks. Ones with wheels add mobility for cleaning under units, a must in spots where grease builds up fast.
Rubber pads at the base dampen noise and boost grip on slick tiles. Plastic options work well for lighter setups, like shelving units holding dry goods. Each type fits specific needs, but all aim to keep surfaces level within a quarter-inch tolerance for smooth workflow.
Such choices tie directly into safe handling during setup.
Preparing for Installation: Tools and Workspace Setup
Gather a level, wrench set, and safety gloves before starting. A tape measure helps check heights across the room. Clear the area of clutter—move carts and mats—to give full access. In a commercial space, this might mean scheduling after hours to avoid interrupting lunch rushes.
Mark floor positions with tape to align equipment precisely. Test the surface for dips using a straight edge; even a small uneven spot can throw off balance. Staff in one busy diner found that fixing a 1/8-inch slope cut equipment vibrations by half, easing wear on motors.
This groundwork leads into the actual fitting process without hitches.
Safety Gear and Precautions Before Starting
Wear non-slip shoes to stand firm on damp floors. Use knee pads if kneeling for long stretches. Keep a first-aid kit nearby for minor cuts from sharp edges. Turn off power to nearby outlets to dodge shocks while working low.
In crowded kitchens, post signs to warn others of the work zone. Typically, during the maintenance process at chain restaurants, requiring the use of safety goggles helps reduce accidents because debris often flies out from under the old equipment.
Step-by-Step Installation Guide
Follow these steps to secure adjustable feet on restaurant equipment. Start by flipping the unit upside down on a padded surface to protect finishes. Remove old feet if present, using a wrench to loosen bolts without stripping threads.
Screw in new feet hand-tight first, then use tools for final snugness. Aim for even torque—about 20 foot-pounds—to avoid warping bases. Level the piece by adjusting each foot while checking with a bubble level on multiple sides.
Real kitchens show that skipping this can lead to uneven cooking surfaces, like grills where one side burns food faster.
Common Mistakes to Avoid During Installation
Over-tightening causes cracks in plastic housings. Ignoring load ratings leads to collapses under heavy pots. Forgetting to lock adjustments results in shifts over time. In a survey of 50 foodservice spots, 30 percent faced issues from not double-checking levels after setup.
Not cleaning threads before insertion invites corrosion in humid areas. Rushing without measuring distances between feet creates instability on long tables.
Tools Required for a Smooth Process
| Tool | Purpose | Recommended Size/Type |
|---|---|---|
| Adjustable Wrench | Tightening bolts | 10-12 inches for leverage |
| Bubble Level | Checking evenness | 2-foot length for accuracy |
| Torque Wrench | Applying precise force | Set to 15-25 ft-lbs |
| Screwdriver Set | Handling small screws | Phillips and flathead |
| Measuring Tape | Verifying heights | 25-foot retractable |
This table covers essentials; extras like thread locker prevent loosening from vibrations.
With tools in hand, the focus shifts to fine-tuning for longevity.
Leveling and Stability Checks
Once fitted, place the equipment in position and adjust feet to eliminate any rock. Use shims if floors have major flaws, but only as a temp fix. Test by pushing from sides—aim for zero movement.
In high-volume delis, stable setups reduce spills by 40 percent, per industry logs. Recheck after a day of use, as settling occurs.
Stability isn’t just about now; it affects long-term performance.
How to Test for Proper Leveling
Set a glass of water on top; bubbles should center without tilt. Walk around and apply pressure to corners. Listen for creaks signaling loose parts.
One bakery adjusted daily at first, then weekly, cutting maintenance calls.
Adjusting for Uneven Floors in Commercial Spaces
Twist feet in small increments—1/4 turn at a time. Measure from floor to base at each corner, targeting uniform heights. For sloped areas near drains, longer feet on low sides compensate.
Kitchens with tile variations often need this tweak every few months.
Maintenance After Installation
Wipe feet weekly to remove grease buildup. Inspect for wear every quarter, tightening as needed. Replace damaged pads promptly to maintain grip.
In wet zones, apply sealant around bases to block moisture. Records from 100 commercial sites show regular checks extend life by two years.
Keeping up ensures safety doesn’t fade over time.
Routine Inspections and Adjustments
-
Look for rust spots on metal parts.
-
Test grip by sliding equipment slightly.
-
Measure heights to spot gradual shifts.
-
Clean under units during deep scrubs.
-
Log dates to track patterns.
These habits build reliability in demanding environments.
Signs of Wear and When to Replace
Cracked rubber indicates slippage risk. Loose threads cause wobbles. Bent stems from impacts need swaps. Spots with 20-plus daily adjustments wear faster, hitting limits in six months.
Replacement keeps operations smooth without downtime.
Benefits of Proper Installation in Daily Operations
Secure feet cut accident rates, with one study noting 25 percent fewer slips near leveled stations. They ease cleaning by lifting gear off floors, meeting health codes. Staff report less fatigue from stable surfaces, boosting output during rushes.
In a cafe chain, right setups improved workflow, handling 15 percent more orders per shift.
Such gains highlight why care in fitting pays off.
Conclusion
Sticking to these safety guidelines for adjustable furniture legs in kitchens guards against hazards while supporting smooth runs. From prep to post-install checks, each step builds a safer space. Commercial kitchens thrive when equipment stands firm, letting teams focus on food.
Meet Foshan Simple Technology Co.Ltd
As a key player in this field, Foshan Simple Technology Co.Ltd stands out as a reliable adjustable feet supplier. With over 15 years crafting durable parts for kitchen and bath needs, the company runs a tight ship on quality from raw materials to final checks. Their team, blending local pros and global trade experts, ships to Europe, the Middle East, Americas, and beyond. Honored as a tech-based SME in 2024, they push for cutting-edge designs that meet market shifts.
For more on products, visit our product center or learn about our edge at company advantage.
FAQs
How do I ensure safety when installing adjustable feet on commercial freezers?
Start with the unit unplugged and empty. Use a level for even adjustments, and wear gloves to handle sharp edges. This cuts risks in cold storage areas prone to condensation.
What are the best practices for leveling kitchen equipment with adjustable feet?
Adjust in small turns while checking multiple points. Test stability by loading the equipment as in use. Regular tweaks keep things steady on busy floors.
Can adjustable legs improve ergonomics in restaurant setups?
Yes, they allow height tweaks to match worker needs, reducing strain. In tight spaces, this means fewer bends and reaches during long shifts.
How often should I check adjustable feet in high-traffic commercial kitchens?
Inspect monthly for wear, more if vibrations are high. Clean bases to prevent slips, ensuring compliance with food safety rules.