


5 giorni alla settimana dalle 8:30 alle 17:30

What Should OEM Buyers Check in Commercial Range Hood Light Lens and Housing Design Before Production?
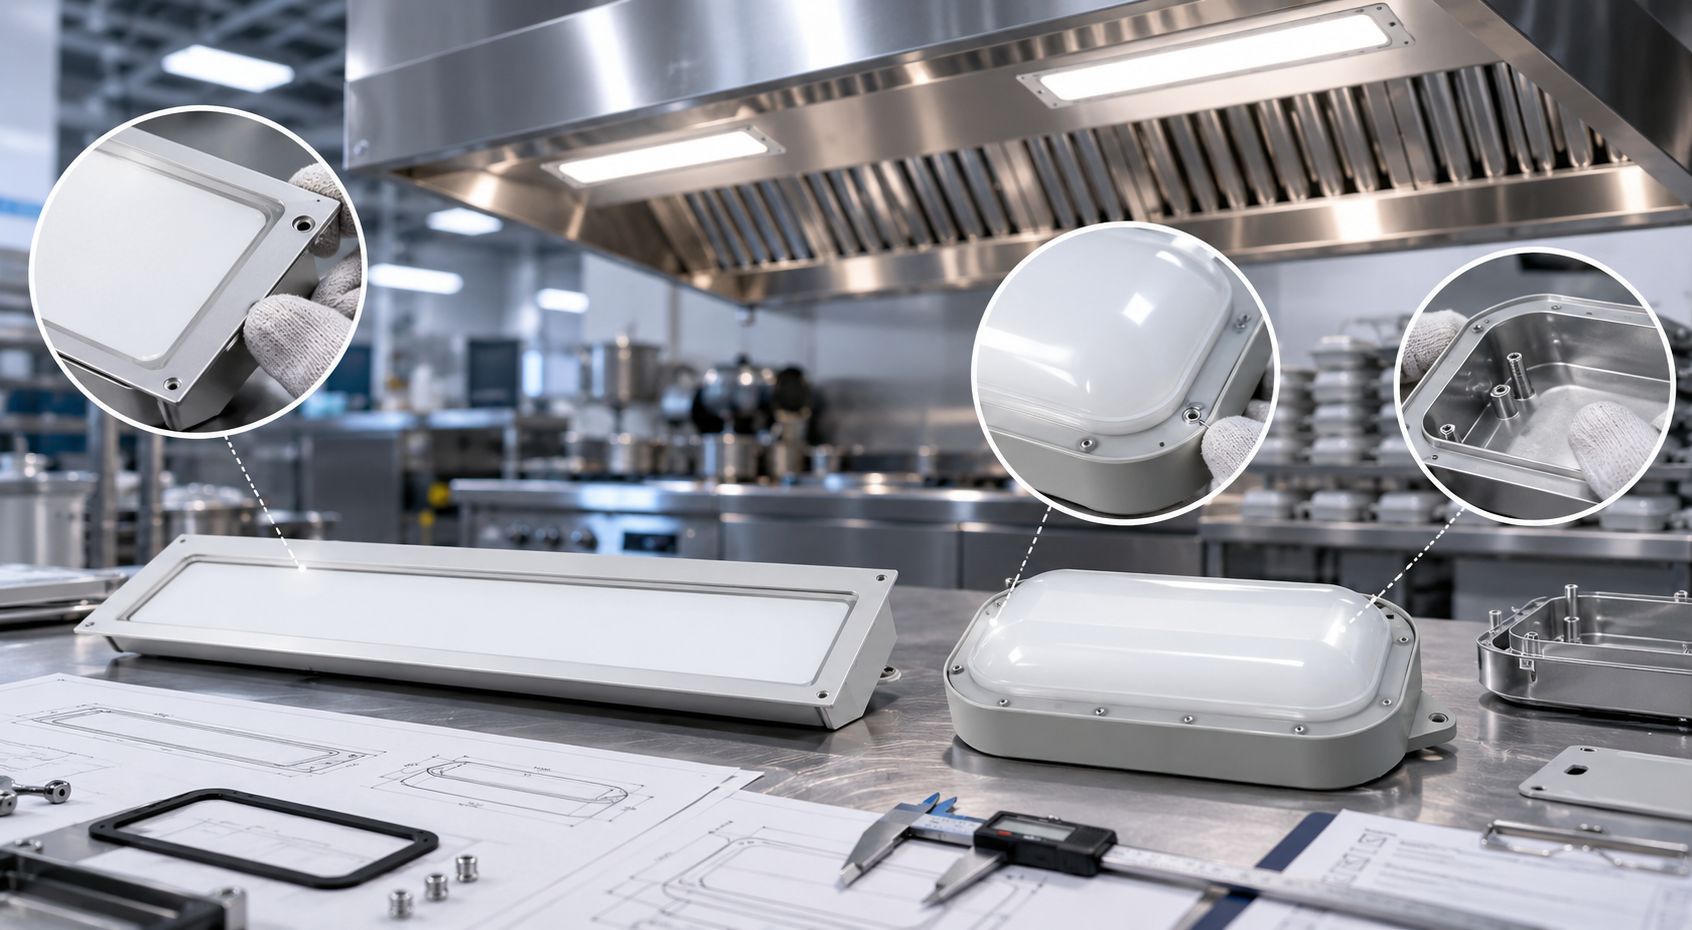
A commercial range hood light should be approved as part of the hood assembly, not as an isolated lighting component. For OEM purchasing managers, production engineers, and technical buyers, lens construction and housing design influence cleaning access, sealing, installation clearance, surface durability, and how consistently the fixture can be assembled into the hood. A light may meet the electrical requirement yet still create production problems if the cover does not sit evenly, the housing interferes with the hood structure, or grease collects around difficult-to-clean edges. Before mass production, buyers need a controlled sample and drawing that define these mechanical interfaces clearly.
Which Lens Details Should OEM Buyers Evaluate Before Approving a Range Hood Light?
The lens is the surface closest to the cooking environment, so its job extends beyond allowing light to pass through. Its shape, fit, exposed edges, and relationship with the housing influence cleaning and long-term appearance. Buyers reviewing a commercial range hood light range should therefore compare lens construction separately from electrical output.
A sample should first be inspected as a complete assembly. Look across the lens from several angles rather than only from the front. The cover should sit in the intended position without obvious lifting at the corners, uneven gaps, or local stress where it meets the housing.
Does the Lens Sit Evenly Against the Housing?
Uneven seating can indicate dimensional variation in the lens, housing, gasket area, or fixing arrangement. Even when the fixture operates normally, inconsistent fit may leave areas that are harder to wipe or may change how pressure is distributed around the sealing interface.
OEM buyers should document the visible gap condition on the approved sample. If the drawing includes a controlled lens opening or housing recess, those dimensions should be checked during incoming inspection rather than replaced by a general instruction such as “lens must fit well.”
The edge profile also matters. A cover that projects unnecessarily beyond the surrounding housing can become a grease-catching edge, while a deeply recessed surface may be more difficult to clean. Neither geometry is automatically wrong; the correct choice depends on how the fixture is integrated into the hood and how that surface will be maintained.
How Should Housing Geometry Be Checked Against the Hood Structure?
Housing design determines whether the fixture can be installed without cutting, bending, spacing, or rerouting other parts of the hood. Electrical compatibility cannot compensate for a body that conflicts with the sheet-metal structure behind the mounting surface.
This is why OEM approval should use both the light drawing and the hood-side drawing. A supplier sample may look correct on a workbench but behave differently once cables, duct panels, insulation zones, fixing points, and neighboring components occupy the available space.
Check Depth, Flanges, and Cable Exit Together
Housing depth should be measured from the installation reference surface to the deepest point of the fixture. The buyer then needs to compare that figure with the actual free space in the hood, not simply with the depth of the previous light.
Flanges and mounting faces deserve equal attention. They determine how the load is transferred into the hood panel and whether the fixture can sit flat after the fasteners are tightened. A flange that is slightly warped may pull the light into position during assembly, but that does not make the geometry acceptable for repeat production.
Cable exit position should be shown on the drawing as well. Moving the outlet by a small amount may create interference with a bracket or require production staff to route the cable around another component. For OEM purchasing, those extra assembly steps matter because they can turn a nominally compatible light into a production nuisance.
A broader commercial kitchen component catalog can help engineering teams coordinate surrounding hardware, but each light still needs to be checked against the exact hood layout.
What Should Buyers Check at the Lens-to-Housing Interface?
The transition between the lens and housing is one of the most important mechanical areas because it combines appearance, sealing, cleaning, and assembly. A specification that describes the lens and housing separately but ignores the interface between them leaves too much open to interpretation.
The buyer should examine how the cover is retained, whether the sealing element remains correctly positioned, and whether fixing pressure is distributed evenly. The goal is not to prescribe one universal construction, but to establish what the approved design looks like before production starts.
Sealing Should Be Evaluated as an Assembly
A gasket or sealing element only works as intended when the surrounding components support it correctly. If the lens is uneven, the housing is distorted, or the fixing arrangement pulls more strongly at one point, the seal may not remain uniform around the perimeter.
For that reason, buyers should avoid approving a fixture solely from individual component measurements. The assembled sample should be inspected after installation and again after it has been removed, cleaned, and reassembled according to the intended maintenance method.
A useful mechanical review can include:
|
Inspection Area |
What to Check |
OEM Concern |
|
Lens seating |
Even position around perimeter |
Cleaning and assembly consistency |
|
Housing flange |
Flat contact with mounting surface |
Stable installation |
|
Sealing interface |
Gasket remains correctly located |
Environmental protection |
|
Fastening points |
No local distortion after tightening |
Repeatable assembly |
|
Lens edge |
No sharp or awkward exposed transition |
Cleaning access |
|
Cable entry |
Position and retention match drawing |
Hood-side routing |
The table should become part of the sample-approval record rather than a generic checklist copied across unrelated fixtures.
How Can Buyers Evaluate Cleaning Access and Surface Construction?
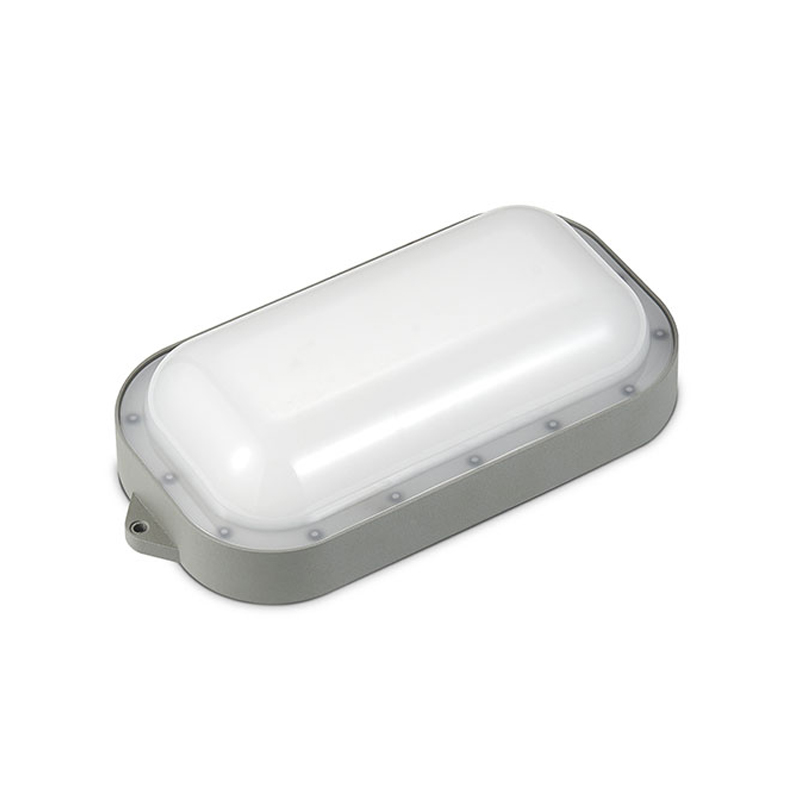
Commercial hood lighting sits where grease vapor and cleaning activity are routine, so a mechanically sound design can still be inconvenient if residue collects around recesses, fasteners, or poorly finished transitions. Cleanability should therefore be judged on the installed fixture rather than from a catalog photograph.
Smooth exposed surfaces generally give cleaning staff fewer places to trap grease, but geometry matters as much as material. Deep seams, raised fixing points, and narrow ledges can retain residue even when the main cover is easy to wipe.
Inspect the Fixture After a Realistic Cleaning Procedure
OEM buyers should define the cleaning method expected for the hood and use it when reviewing the sample. The purpose is not to make unsupported chemical-resistance claims; it is to see whether normal wiping or cleaning access exposes design problems.
After cleaning, inspect the lens-to-housing joint, fastener areas, cable-entry surroundings, and corners. Check whether residue remains in places that are difficult to reach and whether removal or reassembly causes the lens, gasket, or housing to shift.
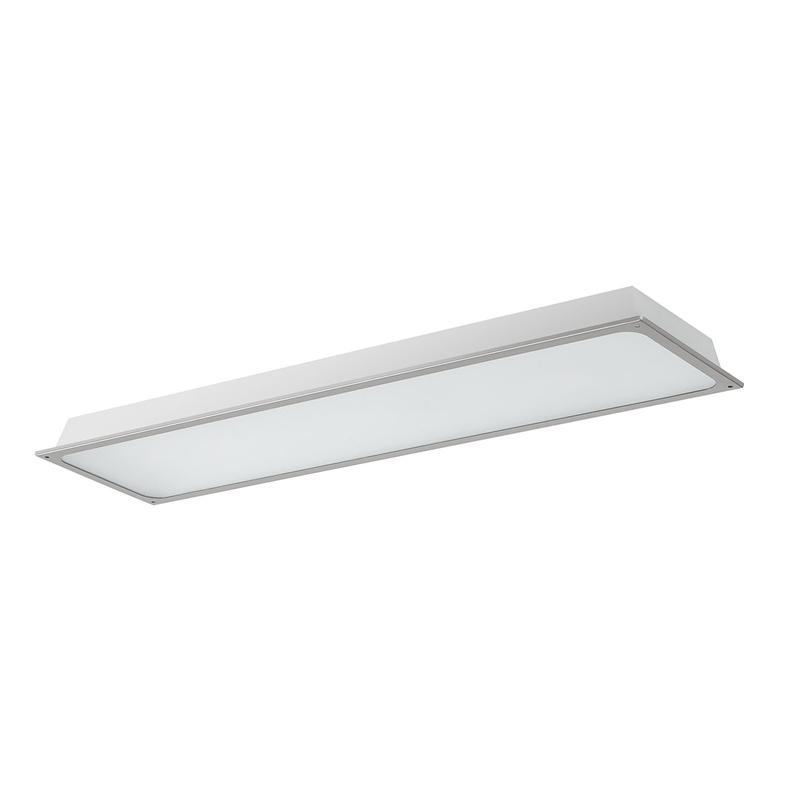
Material information must also match the exact part under approval. The official product pages show that different range hood light constructions can use different materials: for example, one rectangular model lists 201/304 stainless steel and LED components, while another model lists iron, glass, and LED components. That variation is precisely why buyers should not assume that every fixture in the same category shares the same housing or lens construction.
Where custom dimensions or interfaces are required, the OEM and customization process should be supported by drawings that identify the exact housing, cover, mounting, and installation requirements rather than relying on general product descriptions.
What Should Be Frozen Before the Range Hood Light Enters Mass Production?
Once the fixture fits the hood and the mechanical details are acceptable, the buyer needs to turn that sample into a controlled production reference. Without this step, later batches may preserve the general appearance while changing a flange, cover thickness, fixing detail, cable location, or surface treatment that affects assembly.
The final approval package should include the mechanical drawing, product material description, lens or cover construction, housing dimensions, mounting geometry, cable exit location, sealing arrangement, surface requirement, and photographs of critical interfaces.
Build the Incoming Inspection Around Critical Features
Not every dimension needs the same inspection priority. The characteristics most likely to create assembly or quality problems should receive the strongest control.
A practical production-release checklist can include:
-
Overall housing dimensions match the approved drawing.
-
Lens sits evenly around the complete perimeter.
-
Mounting flange contacts the intended surface without forcing.
-
Housing depth remains within the approved installation envelope.
-
Cable outlet is in the controlled position.
-
Sealing element remains correctly seated after assembly.
-
Fastening does not distort the lens or housing.
-
Exposed edges remain suitable for routine cleaning.
-
Surface appearance matches the approved sample.
-
Installed fixture can be removed and reassembled without damaging the interface.
If the project uses several hood sizes, each approved light configuration should carry a traceable part reference. This avoids a common OEM problem in which fixtures that look similar are mixed during assembly even though their dimensions or interfaces are not identical.
Professional Technical Support from Foshan Simple Technology Co., Ltd.
Foshan semplice tecnologia Co., Ltd. supplies commercial kitchen components for OEM and distribution projects, including range hood lighting in several housing formats and material combinations. The website lists rectangular, oval, and other commercial hood-light constructions intended for kitchen exhaust applications. One example is the BH-229 LED Energy Conservation Range Hood Light, whose product page specifies a 240 × 120 × 60 mm, 20 W configuration using iron, glass, and LED components. Another rectangular series uses stainless-steel construction in several published size and power options. For OEM approval, the project drawing and accepted physical sample should remain the controlling references for housing geometry, lens fit, mounting, materials, and assembly.
Conclusione
Range hood light approval should include the mechanical details that determine whether the fixture will remain easy to install, clean, and reproduce in production. Lens seating, housing depth, mounting flanges, sealing interfaces, cable location, exposed edges, and surface construction all deserve review on the actual hood rather than on the component alone. Once the sample is accepted, freeze these characteristics in the drawing and inspection record so purchasing, production, and quality teams can judge later batches against the same physical reference.
Domande frequenti
1. Why should OEM buyers inspect the lens separately from the electrical specification?
The lens affects cleaning access, sealing, surface appearance, and its fit with the housing. A fixture can meet voltage and lighting requirements while still creating production or maintenance problems because of poor lens geometry.
2. What range hood light housing dimensions are most important for OEM production?
Overall length and width, housing depth, mounting-face geometry, fixing-point location, cable exit, and any flange or recess dimensions that interact directly with the hood should be controlled on the approved drawing.
3. Should a small gap between the lens and housing automatically cause rejection?
Not necessarily. The acceptable condition depends on the intended construction and approved sample. Buyers should define the expected interface and inspect for uneven seating, uncontrolled gaps, distortion, or sealing problems rather than applying an arbitrary rule.
4. Why should the range hood light be tested after cleaning and reassembly?
Cleaning can reveal trapped residue, difficult-to-access edges, gasket displacement, or cover movement that is not obvious during initial inspection. Reassembly also shows whether the mechanical interface remains repeatable after normal maintenance.
5. What records should be retained after an OEM range hood light sample is approved?
Keep the controlled drawing, material description, lens and housing details, mounting geometry, cable position, sealing arrangement, approved photographs, surface reference, and the sample-approval record used by purchasing and quality teams.
